
 USA
USA Brazil
 China
China Croatia
 Europe
 France
 Germany
 Italy
Italy Japan
Japan Latin America
 Netherlands
 Spain
Spain Turkey
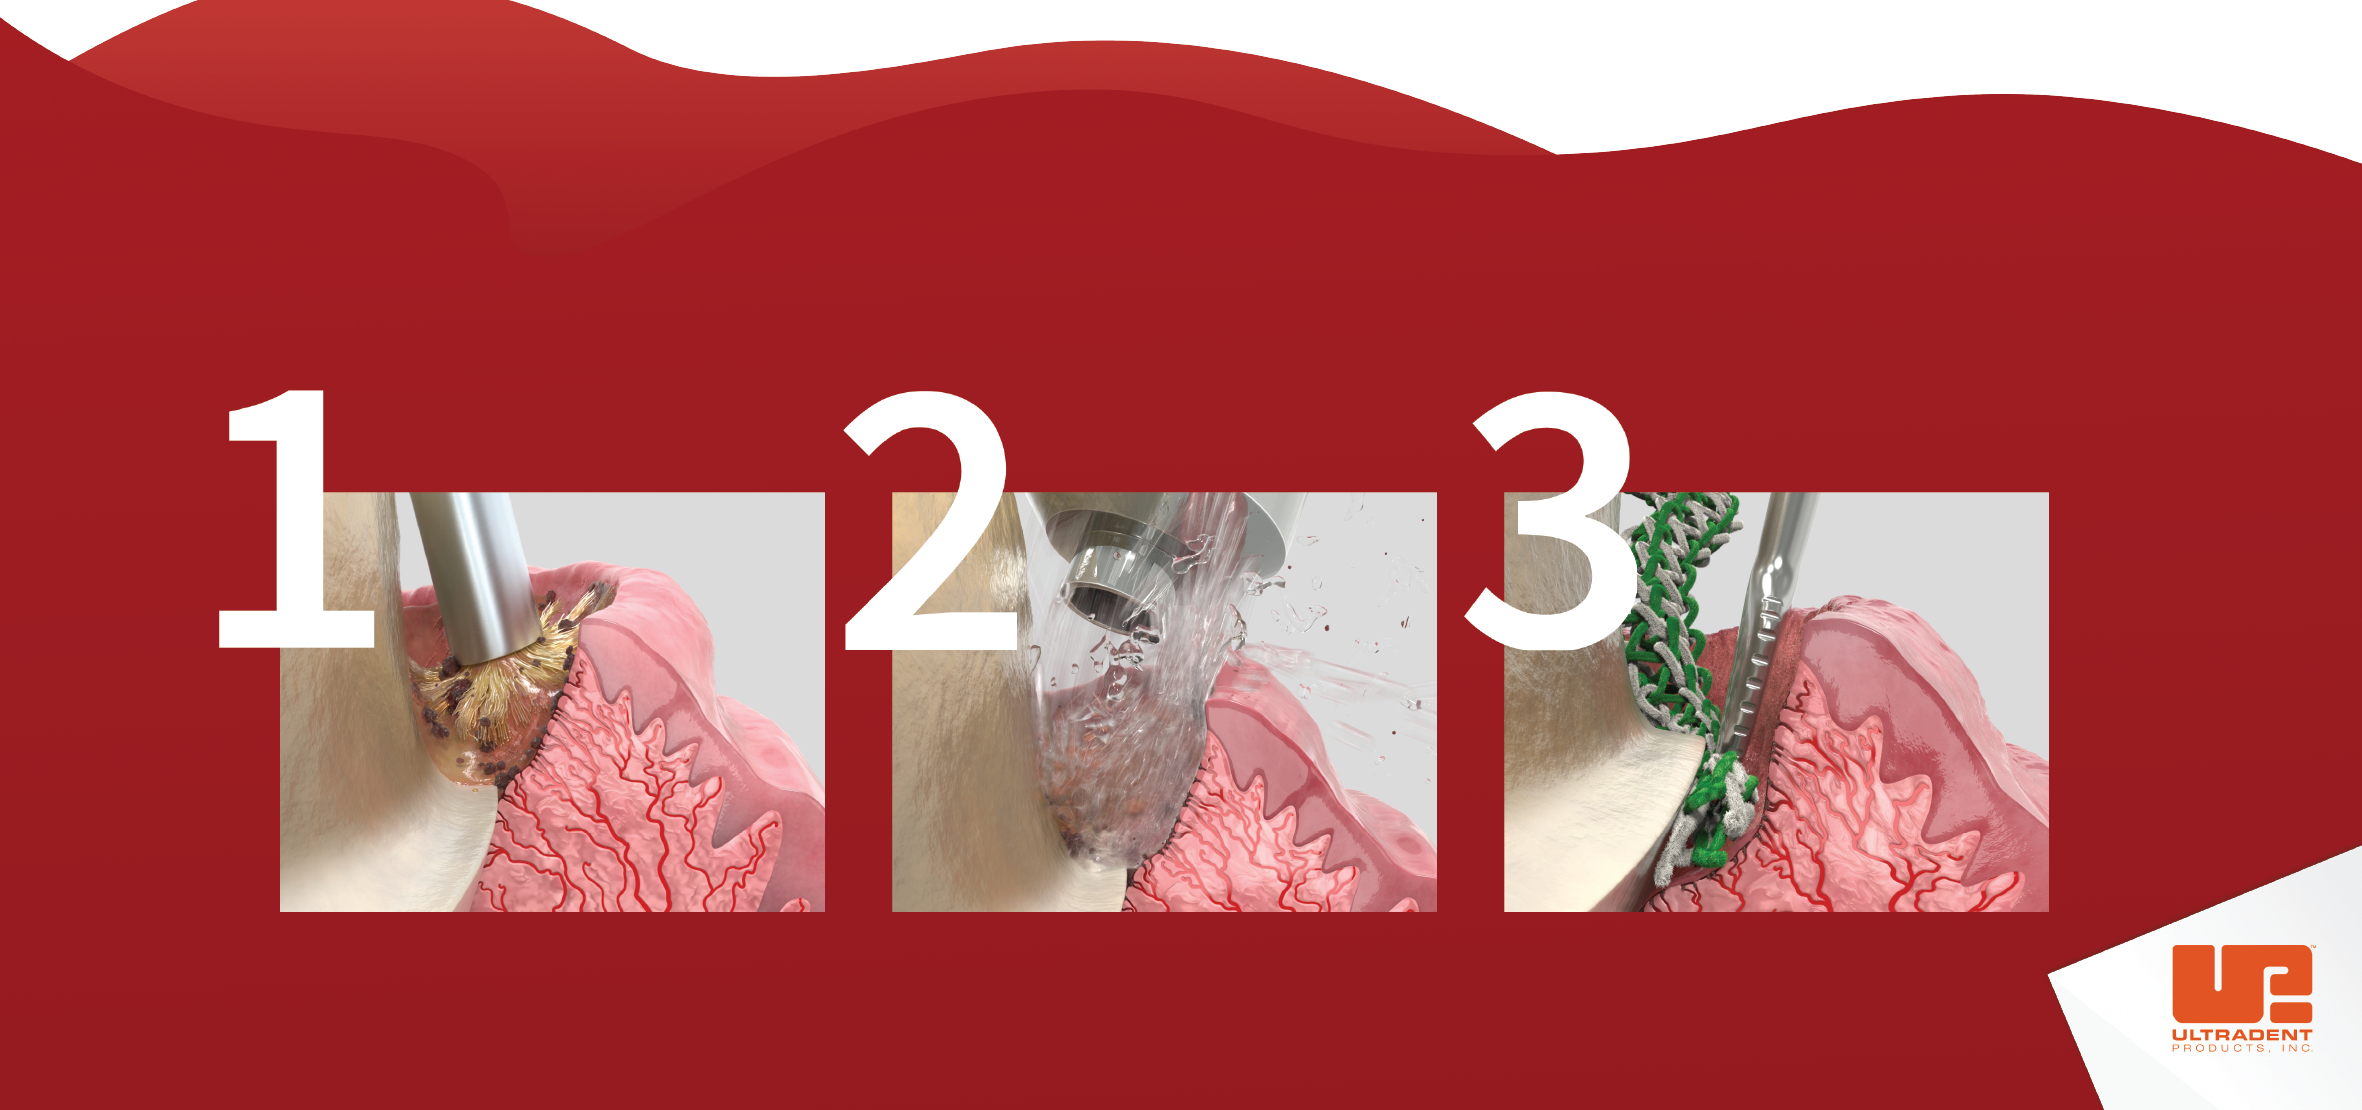


Unparalleled tissue management starts with rapid, profound hemostasis. For many years, dentists have trusted the immediate hemostatic power, detailed margins, and elimination of surface bleeding and sulcular fluid provided by our tissue management products.
Bleeding must be controlled before starting any procedure. The faster hemostasis can be achieved, the faster you can perform quality dentistry for the patient.
Follow this Step-by-Step on Burnishing Technique Guide below and recommended uses for our tissue management line.
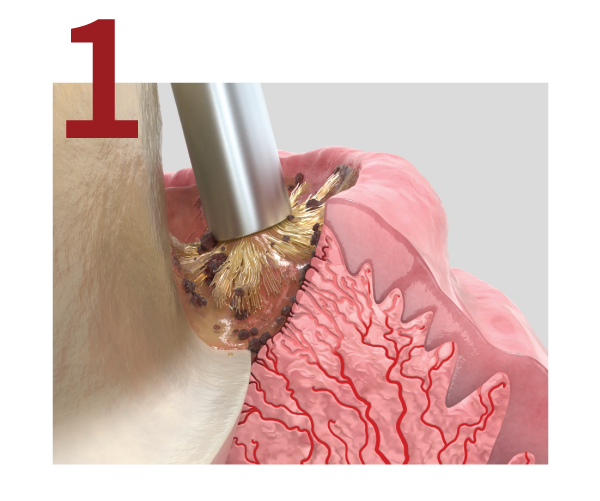
- The Metal Dento-Infusor™ tip has a padded brush end ideal for infusing bleeding capillaries with hemostatic agents. Burnish with Astringedent™ hemostatic, Astringedent™ X hemostatic, ViscoStat™ hemostatic, or ViscoStat™ Clear hemostatic—or another hemostatic agent—firmly against the sulcus until the bleeding stops.

- Apply a firm air/water spray to remove residual coagulum. Check the tissue for quality, profound hemostasis. Repeat the procedure if bleeding reoccurs.

- Soak Ultrapak™ knitted retraction cord in your preferred hemostatic agent. Pack the soaked cord into the sulcus and leave it in place for 1–3 minutes. This assists with tissue displacement. (If a double cord technique is used, remove the upper cord, apply a firm air/water spray, and dry.)
Read the Tissue Management Story here